Tag Archives: korea

Korean Carrot Salad

Korean carrot salad

Living in Asia gives us the opportunity to explore its many flavours. The Korean kitchen is one we have been exploring more of recently. This is a very fresh tasting salad using all raw ingredients. It is easy to make, and fits into a vegan, vegetarian, or paleo lifestyle.

Ingredients

  • 1 large carrot, sliced into thin sticks
  • 1 red onion, thinly sliced
  • 2-3 spring onions, chopped
  • 2 garlic cloves, minced and chopped
  • handful of fresh coriander, chopped
  • 2 Tbsp coconut aminos (or soy sauce)
  • 2 tsp sesame seeds
  • 1 tsp hot sesame oil (or 1 tsp sesame oil and 1 tsp chili flakes)
  • pinch of salt

Directions

  1. Place the carrot, onion, spring onions, garlic and coriander into a bowl.
  2. Mix together the coconut aminos, sesame seeds and sesame oil in a small bowl to create the dressing.
  3. Stir the dressing through the salad.

Music to go with it…
Listen on Spotify: Mahoney Harris – We Didn’t Feel Alone

Kimchi Chicken

Kimchi chicken

Ingredients

  • 200g chicken breast, finely sliced
  • 200g leek, finely sliced
  • 200g Chinese cabbage Kimchi, chopped up roughly
  • 100g carrot Kimchi (optional)
  • 1 tsp sesame oil
  • 1 Tbsp sesame seeds, toasted
  • 1/2 Tbsp maple syrup
  • a little coconut or other oil to fry

Directions

  1. Fry the chicken in a little coconut or other oil for 2 minutes until the chicken has sealed all over
  2. Add leek and kimchi and fry for 5 more minutes
  3. Add the sesame oil and maple syrup and fry for 1 more minute
  4. Take off the heat, sprinkle with the sesame seeds, and serve hot with boiled rice or cauliflower rice.

Music to go with it…
Listen on Spotify: Eric Wire Hustle – Love Can Prevail

Gluten Free Kimchi Pancakes

Kimchi pancakes

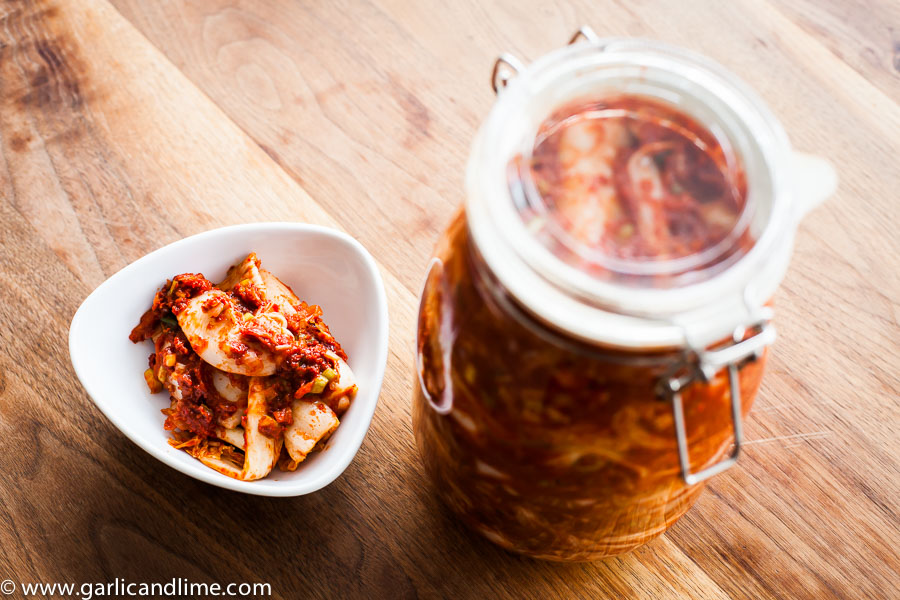
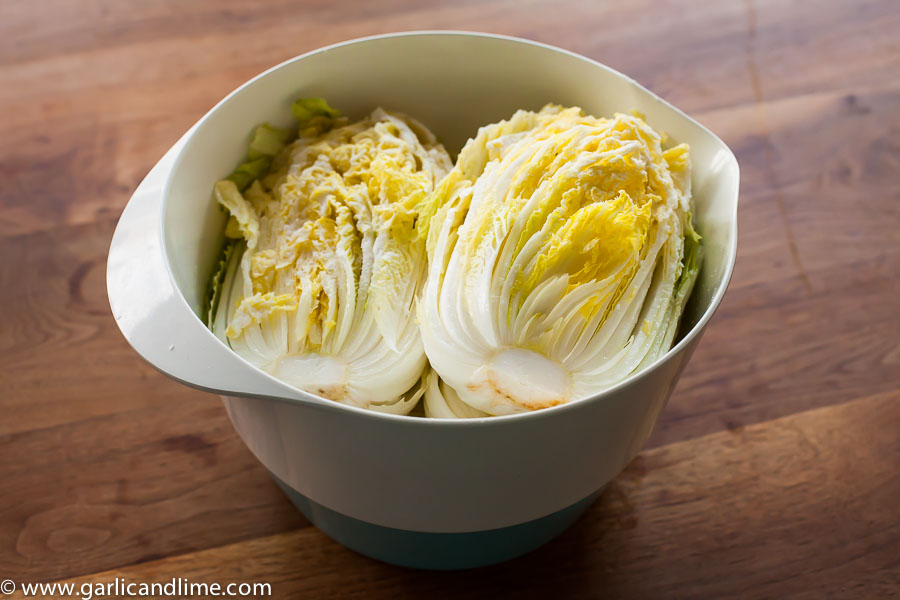
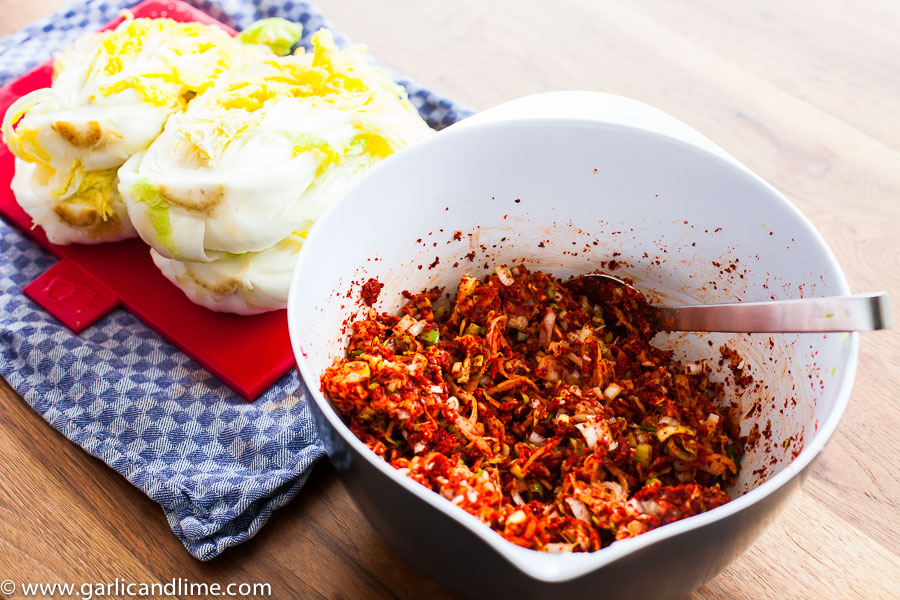
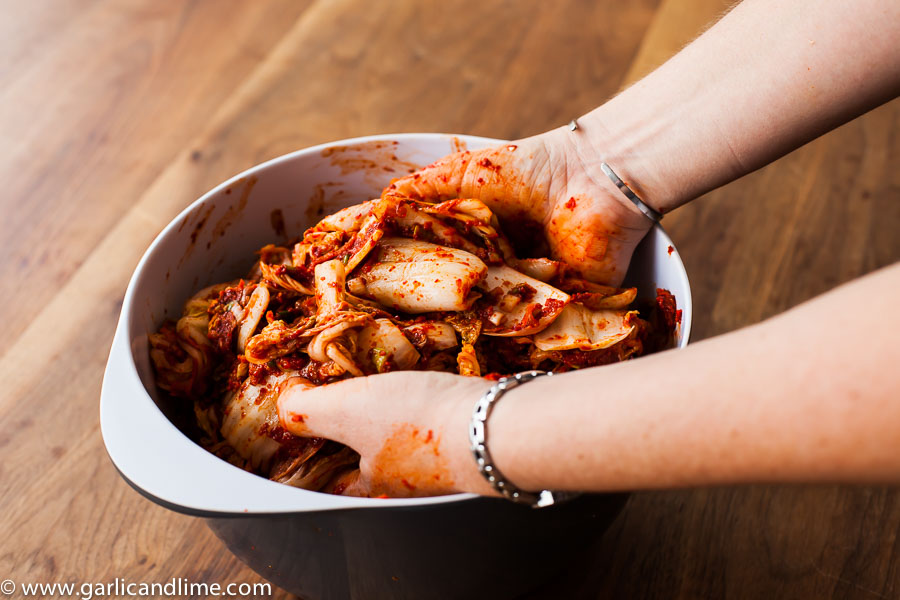
I made a big mix of Kimchi and am spending the week on recipes that can use it in cooking, instead of as an accompaniment. Kimchi pancakes (Kimchijeon in Korean) is a recipe that Korean friends of ours made us when we went to visit them, and this is a variation of that recipe in order to make it gluten free.

These are a savoury pancake, that should get a little bit crispy. In order to make them crispy the water that you add to the mixture needs to be cold, or you can add some ice to cool it down. Do make sure that you use oil in the pan, as this will also help the process of turning them crispy. 

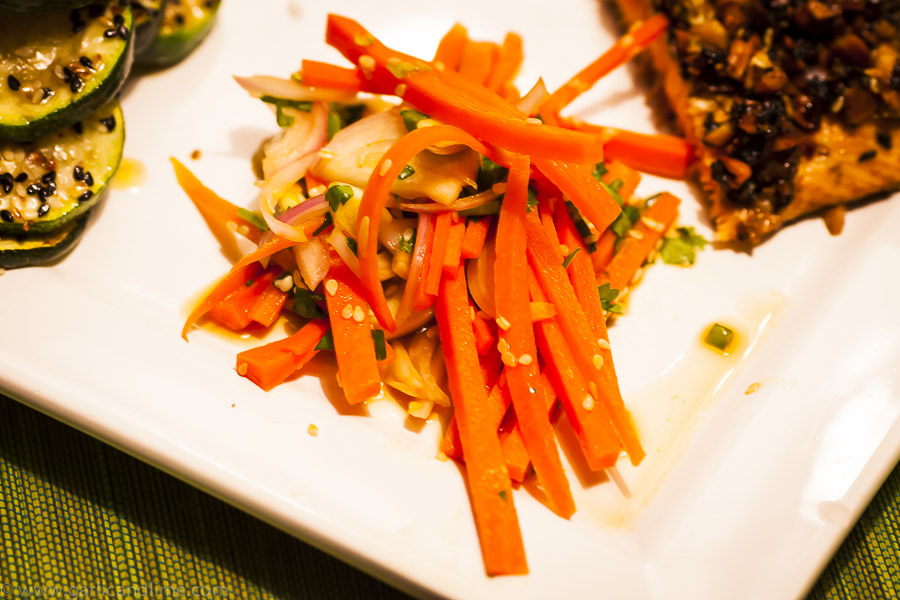
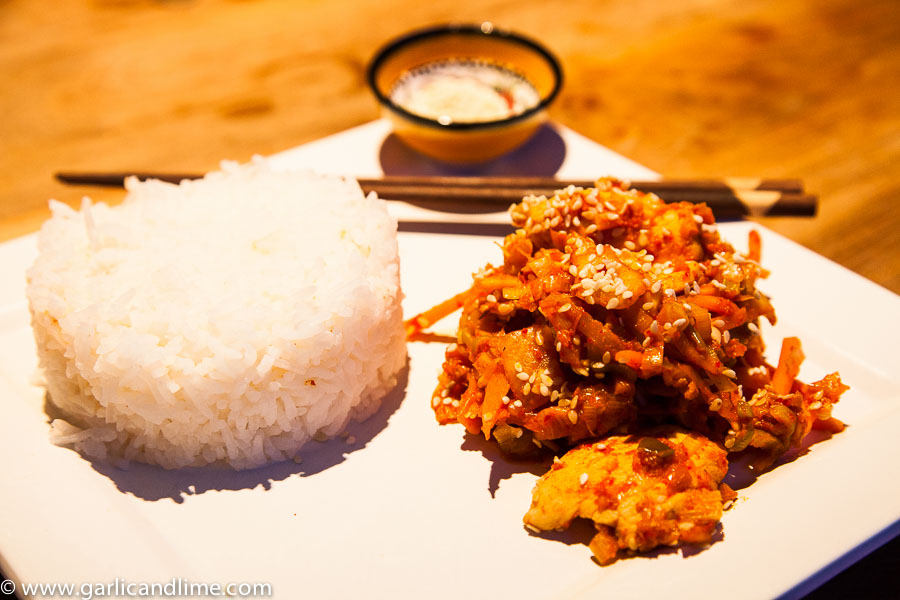
We ate them on their own and with Carrot Kimchi, and they make quite a hearty meal. This recipe makes 8-10 pancakes, which is a little too much for 2 people for lunch. 

We have also made them with some chicken added, and you could also add some finely chopped leeks or spring onions as a variation.

Ingredients

  • 2 cups (500ml) rice flour
  • 2 Tbsp coconut flour
  • 1 egg
  • 550ml cold water
  • 2 cups (500ml) kimchi
  • 5 ice cubes
  • coconut oil or other high heat oil

Directions

  1. Chop the kimchi up finely
  2. Place the rice flour, coconut flour, egg, cold water and kimchi into a bowl. Stir to combine. It should be a fairly watery batter
  3. Heat the oil in a frying pan on a moderate heat
  4. Place the ice cubes into the batter. This will help to cool down the mixture and make sure that your pancakes get crispy. The alternative is to use chilled water out of the fridge when making the mixture.
  5. Using a soup ladle, scoop up a good scoop of the mixture and pour it into the pan. Use the back of the soup ladle to spread the mixture around, making sure that the kimchi is evenly spread across the pan and not in a heap in the middle
  6. Wait until the mixture has cooked through before flipping the pancake over onto the other side. Resist the urge to turn it too soon as it will not go crispy around the edges if you do. Takes 1-2 minutes
  7. Flip the pancake and ensure that it is cooked through – only about 30 seconds to 1 minute on this side.
  8. Serve while stil hot
  9. Makes 8-10 kimchi pancakes

Music to go with it…
Listen on Spotify: The Vaccines – English Graffiti

Homemade Carrot Kimchi

Homemade Korean Carrot Kimchi

No Korean meal is complete without a side dish of Kimchi. It is a national obsession, and rightly so. There are many health studies which show the benefits of this fermented wonderfood!

We have a favourite little Korean BBQ restaurant here in Singapore, and they serve a trio of Kimchi’s. This got us investigating what other Kimchi variations we could make, including this carrot Kimchi.

Chopping the carrot finely takes some work, and you could also grate it to save you some time if you like (although then it will look a little less pretty).

Ingredients

  • 1 kg carrots
  • 1 1/2 Tbsp coarse sea salt

Kimchi paste

  • 1 Tbsp gochugaru, Korean chilli powder
  • 50g leek, shredded
  • 1 tsp minced garlic
  • 1 tsp finely grated ginger
  • 100g fresh daikon / mooli radish, coarsely grated or finely sliced (can be substituted for regular radish, but decrease the amount as it is stronger in flavour)
  • 1/2 tsp fish sauce
  • 1 Tbsp salt

Directions

  1. Peel the carrots and slice them very finely (Julienne). Place them in a bowl and add the salt. Cover the carrots with water and leave them to stand overnight at room temperature
  2. Taste the carrots to check the seasoning and wash in water until it is just too salty for your taste
  3. A good kimchi contains enough salt, but to get it right it is important to taste it. If it is very salty then you need to rinse it more. Rinse it multiple times, tasting  each time until it is just too salty for your taste. If it tastes salty enough for your taste, then it is probably not salty enough, and you should add more salt to the mixture (2 Tbsp rather than 1 Tbsp) when you are making the Kimchi paste.
  4. Mix together all of the ingredients for the Kimchi paste in a bowl
  5. Add the carrots and mix thoroughly using your hands
  6. Place the carrot Kimchi into a jar or bowl with a tight fitting lid. Press them into the jar to be tight fitting, but do not use any real force in doing so.
  7. Put the kimchi into the fridge and let it stand for 10 days
  8. It will keep for approximately 1 month in the fridge

Music to go with it…
Listen on Spotify: City and Colour – Bring Me Your Love

Homemade Korean Kimchi

Homemade Korean Kimchi

One of our son’s best friends at school is Korean, and his mother was nice enough to give us some Korean gochugaru chilli powder. We had been talking to her about how much we loved Korean food, and that we were keen to try making our own Kimchi. After convincing her to swap a BBQ for a Korean dinner at her place, she decided it was our time to cook next and gifted us the chilli powder to make the much talked about Kimchi.

Kimchi is a fermented vegetable dish, much like sauerkraut, except spicy.  The national dish of Korea (and a national obsession), no Korean meal is complete without it. The fermentation process of making it also makes it great for your gut health and there are many studies on its health benefits.

There is no definitive recipe for Kimchi, rather you can make a lot of variations of the basic recipe. Adding carrot or cucumber are some suggestions to get you started. Enjoy!

Ingredients

  • 2 kg Chinese leaf cabbage
  • 200g sea salt

Kimchi paste

  • 150g gochugaru, Korean Chilli Powder (do not substitute for regular chilli powder as this is more like a paprika powder, with a little chilli added. Regular chilli powder would be far too hot)
  • 300g leek, finely chopped
  • 2 Tbsp garlic, minced
  • 2 Tbsp ginger, finely grated
  • 200g fresh daikon / mooli radish, grate on wide grater, or finely shred (you could substitute for regular radish, but cut it is a little more intense in flavour, so decrease the amount and cut it up finely)
  • 1 Tbsp fish sauce
  • 1-2 Tbsp salt

Directions

  • Cut the Chinese cabbage in half lengthwise to expose all of the leaves. Place the halves cut side up in a bowl. Salt the cabbage layer by layer. You don’t have to be too perfect at this.

Korean Kimchi

  • Place into a large bowl and cover with enough water to completely submerge it. Place a heave object on top to keep the cabbage submerged under water. I used a pestle, but you could use a bowl, plate, or jar as well.
  • Repeat for each of the cabbage halves until you have used up all of the salt and roughly salted all of the cabbage leaves
  • Cover with a tea-towel and let it stand for 24 hours at room temperature in the brine mixture.
  • Drain the water and taste a bit of the cabbage from the middle to check for how salty it has become.
  • A good kimchi contains enough salt, but to get it right it is important to taste it. If it is very salty then you need to rinse it more. Rinse it multiple times, tasting from a middle leaf each time until it is just too salty for your taste. If it tastes salty enough for your taste, then it is probably not salty enough, and you should add more salt to the mixture (2 Tbsp rather than 1 Tbsp) when you are making the kimchi paste.
  • Carefully squeeze the liquid out of the Chinese cabbage
  • Mix together all of the kimchi paste ingredients in a bowl.

Korean Kimchi

  • Either you can leave the cabbage halves still whole, or you can cut the ends off them in order to separate the leaves. I cut the ends off to make it easier to put them into the jar that I had available.
  • Mix the Chinese cabbage and kimchi paste thoroughly with your hands. It will wash off easily, and there isn’t really a good substitute to just getting in there and getting dirty!

Homemade Korean Kimchi

  • If you are leaving the cabbage halves whole, then make sure that you lift the leaves up and press the paste in between them.
  • Place the kimchi into a jar or bowl with a tight fitting lid. Press into the container so that it is tightly packed, but don’t use too much force in doing so. You just want to press it into the container to completely fill it.
  • Leave the kimchi to stand on the bench for 24 hours.
  • Transfer to the fridge and leave it for 7-10 days before you start to eat it.
  • It will last for around 2 months in the fridge.

Music to go with it…
Listen on Spotify: The Very Best – Makes a King