Tag Archives: #milk

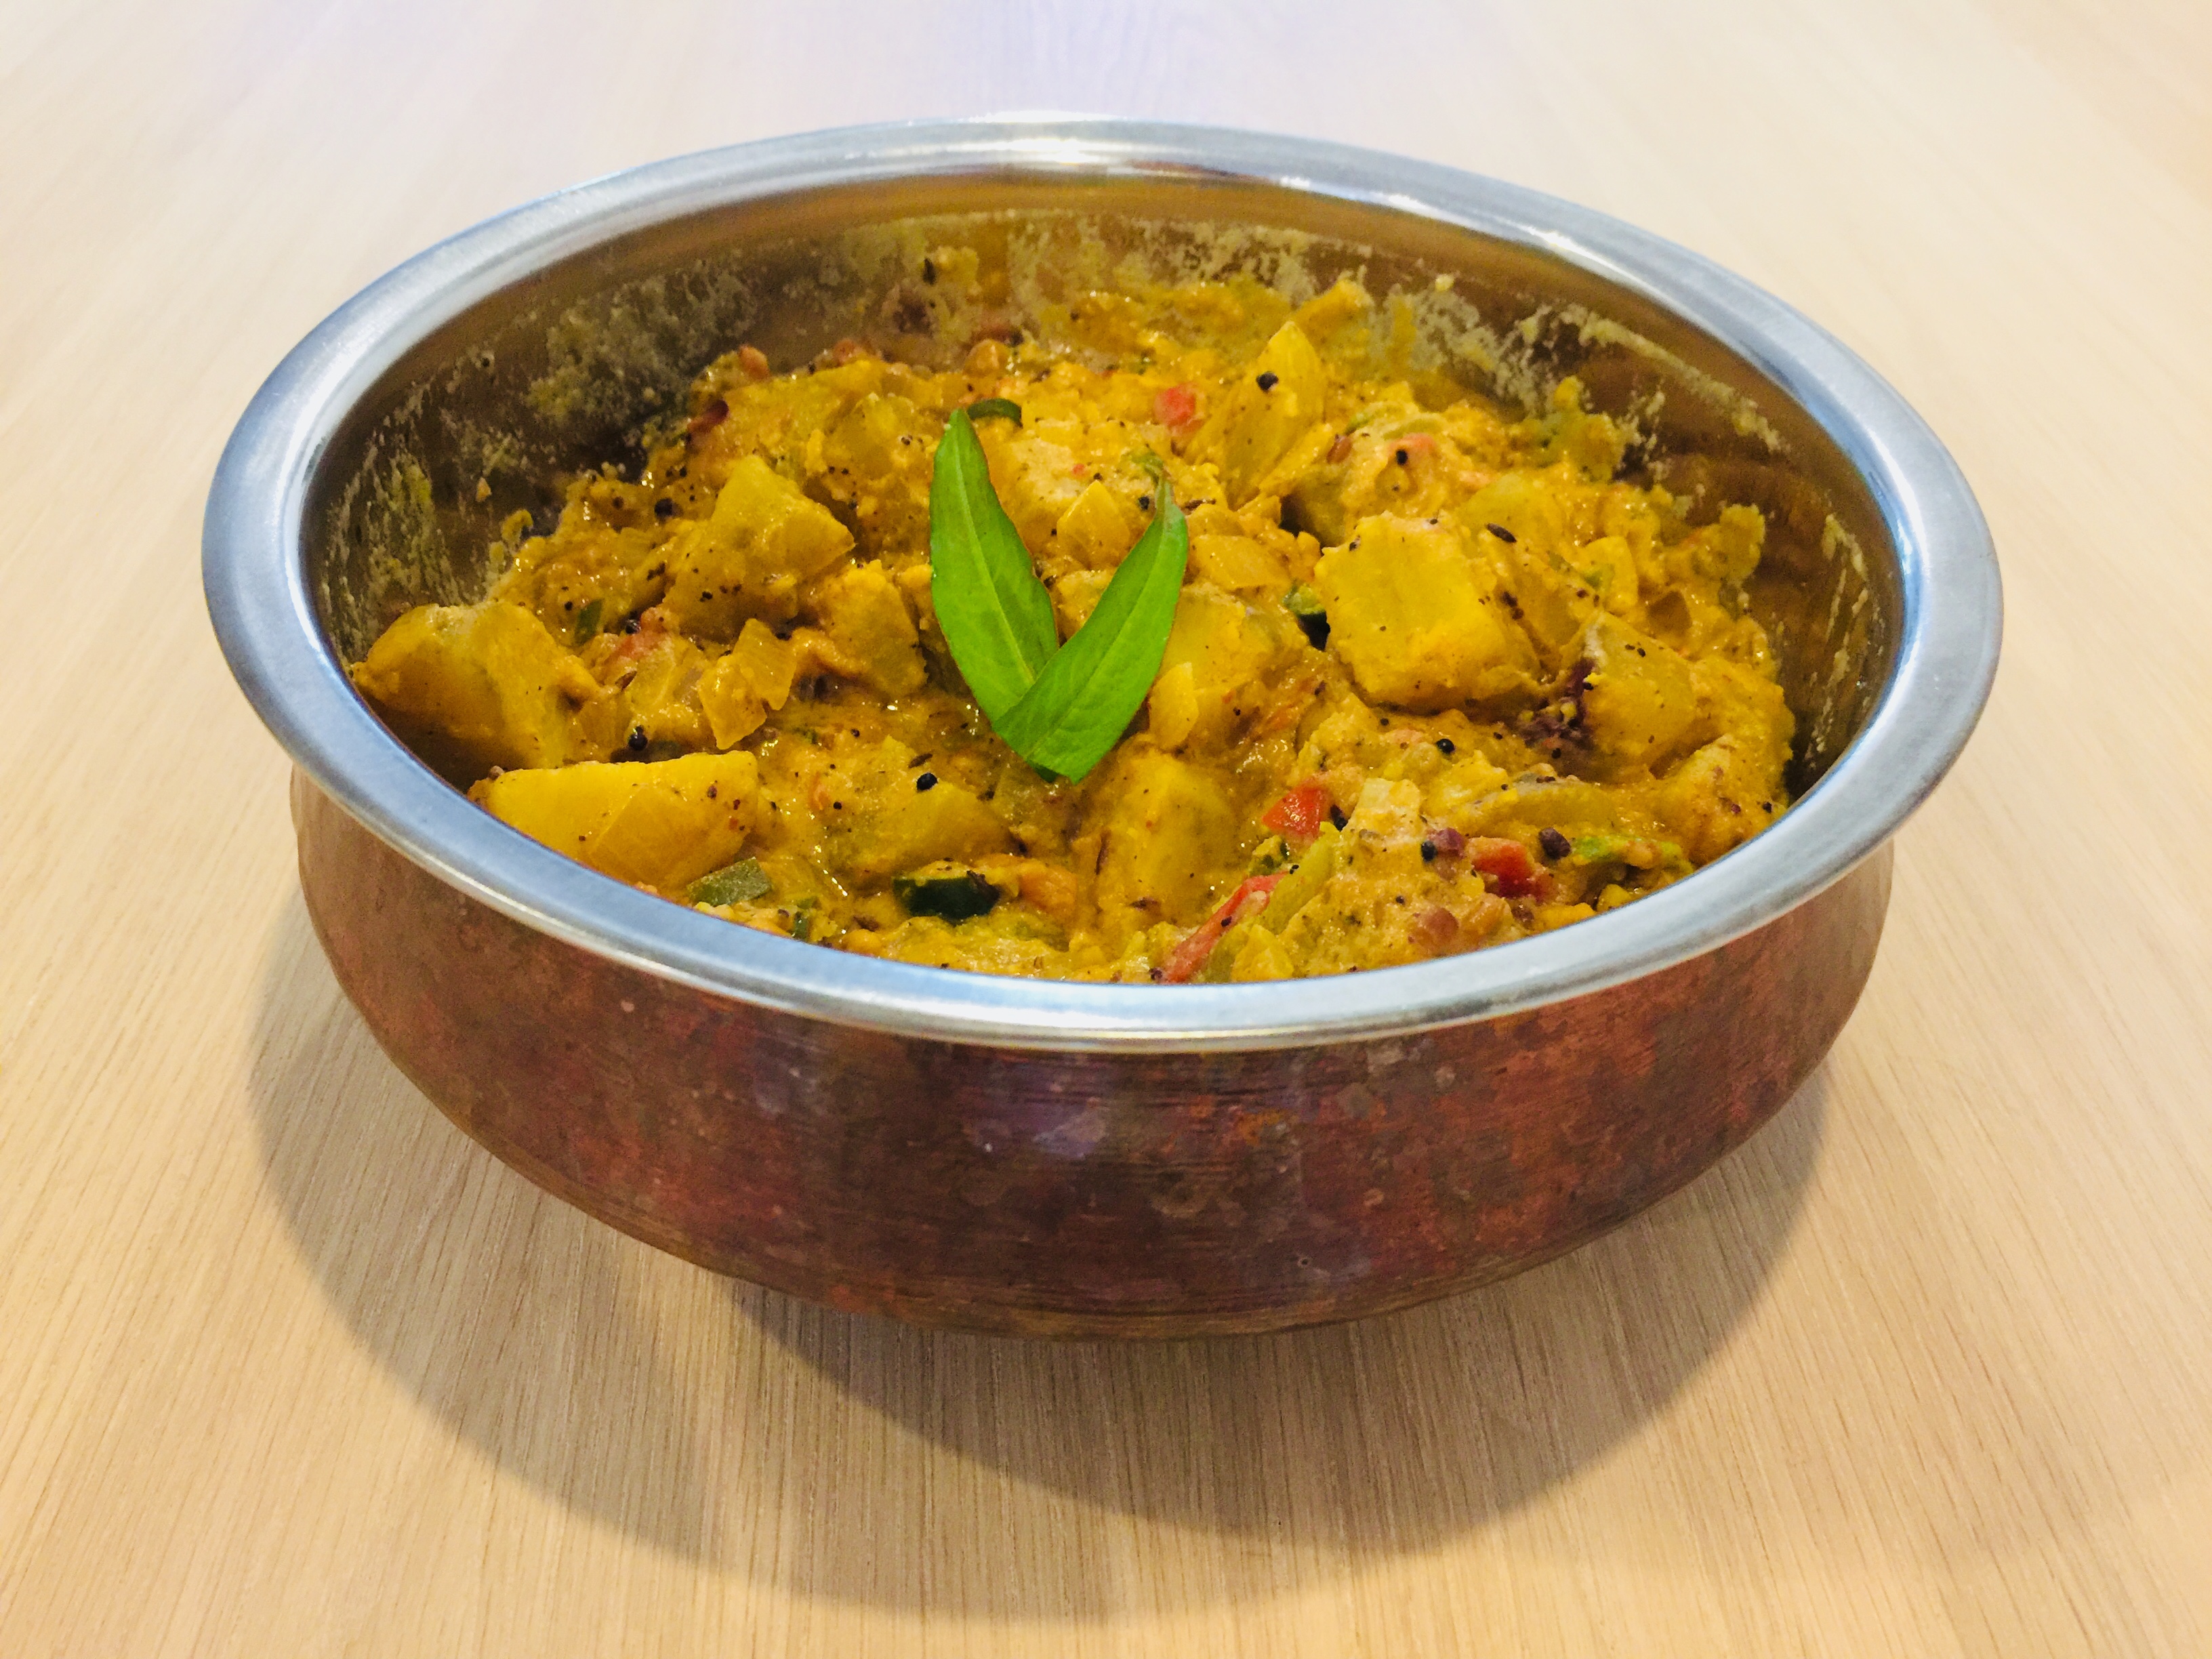
Sweet Potato Curry with Coconut Milk from Karnataka

When we lived in India I needed to go to Cochin in Kerala for work. The market research session I was attending didn’t start until the afternoon, so I had the morning to explore Fort Cochin. There amoungst the alleyways I found a tiny little bookshop piled high with books. A wonderful little treasure trove. From that store I bought a South Indian Vegetarian cookbook which I love exploring. This recipe is based on that for Urulaikizhangu Saagu which is a Potato Curry from Karnataka. Using sweet potatoes to make a Sweet Potato Curry gives it a slightly richer flavor (and a few more vitamins), and I skipped the process of making homemade coconut milk, and stuck to a store bought can for convenience. It is truly delicious!

Ingredients

  • 3 large sweet potatoes
  • 1 270ml can coconut milk
  • 2 large onions, finely chopped
  • 2 green chilies, de-seeded and finely chopped
  • 2cm piece of ginger, peeled, grated
  • 2 large tomatoes, chopped
  • 1/2 tsp turmeric powder
  • 1 1/2 tsp salt

Spice paste

  • 1 tsp poppy seeds
  • 3 dried chillies
  • 1 Tbsp Bengal gram or Moong dal
  • 1 Tbsp coriander seeds
  • 1/2 tsp fennel seeds
  • 1 cinnamon stick

Tempering

  • 1 tsp mustard seeds
  • 1 tsp cumin seeds
  • 1 tsp urad dal
  • 1 tsp Bengal gram or Moong dal
  • 1 dried chilli
  • 1 sprig curry leaves

Directions

  1. Peel the sweet potatoes. Cut into 1-2cm cubes. Cook in salted, boiling water until tender. Drain and set aside
  2. Grind ingredients for spice paste in a mill accessory on a blender or food processor. Gradually add 2-3 Tbsp to make a paste
  3. Heat some oil in a large frying pan. Add all the Tempeeing ingredients and fry until the mustard seeds start to splutter
  4. Add the onions to the Tempered spices and fry until golden, around 3 minutes
  5. Add green chilies, ginger, tomatoes, turmeric, and salt. Fry for about 2 minutes
  6. Add 1 cup of water and turn up the heat (from 6 to 7 on an induction cooktop). Simmer for 4-5 minutes stirring occasionally
  7. Turn down the heat (to 6 on an Induction cooktop). Mix in the spice paste and sweet potatoes and cook for a further 5 minutes, stirring frequently to ensure all ingredient should are well mixed together and the mixture does not catch on the pan
  8. Pour in the can of Coconut Milk and stir to combine thoroughly. Simmer for a few minutes over a low heat.
  9. Serve with rice, idli, dosa, or roti
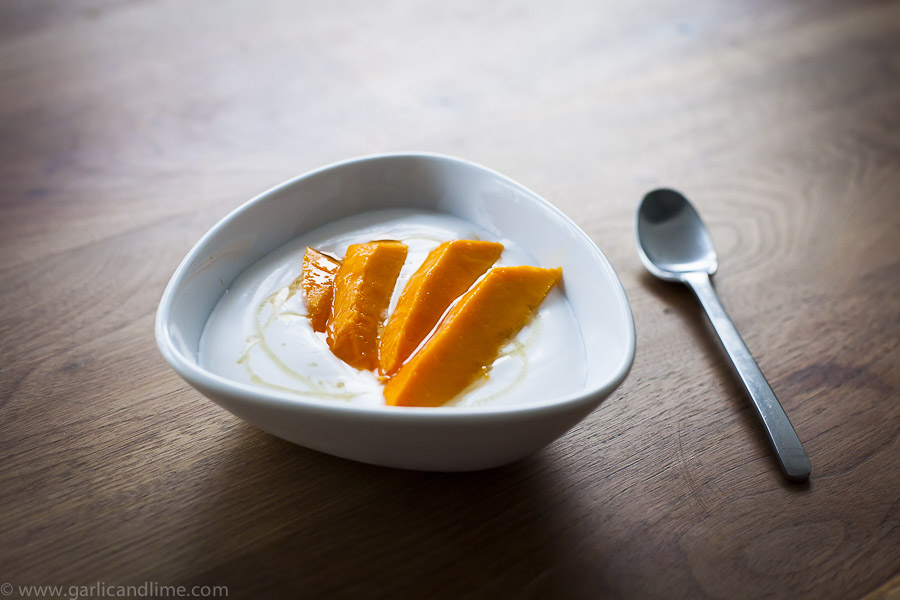
Coconut Yoghurt

Coconut Yoghurt with Mango and Honey

Since going dairy free I haven’t had any yoghurt, or yoghurt substitutes. I wanted to change my breakfast habit (muesli and yoghurt) before trying any. Recently a friend gave me some culture grains that she uses to make her daily drink of kefir. I decided to use it to make a coconut yoghurt. After some experimentation, I found that you can vary the creaminess of the yoghurt by using coconut milk, coconut cream, or a mix of the two. This is a 50/50 mix, but you can make it more Greek Yoghurt like by adding more coconut cream

Ingredients

  • 200ml coconut milk
  • 200ml coconut cream
  • milk kefir grains (available on Amazon.com)
  • 1 mango
  • 1 tsp honey

Directions

  • Place the coconut milk and coconut cream in a jar. Stir to combine
  • Add the milk kefir grains to the coconut milk
  • Let the coconut milk mixture stand for 12-24 hours for the culture to do its magic
  • Strain the yoghurt through a mesh (I use a sifter) to sift out the kefir grains. Add the grains to a new batch of coconut milk.
  • Place the coconut yoghurt in a bowl in the fridge for 1 hour to cool down. It will also thicken in the fridge.
  • Serve the yoghurt topped with mango and a teaspoon of honey, or use it in a curry (such as a Palak Chicken Curry) to make the dish more creamy

Music to go with it…
Listen on Spotify: Oscar and the Wolf – Entity

Desiccated Coconut Milk

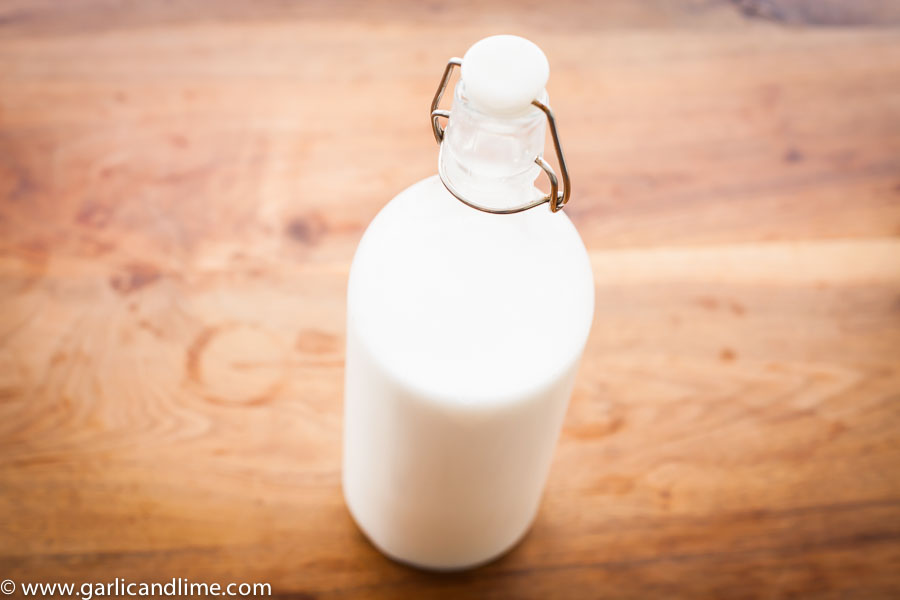
Desiccated Coconut Milk

Recently for some strange reason we could not find any of the brand of coconut milk that we normally buy. It seemed to be sold out of all of the shops near our home. We looked at the labels of a lot of other brands of coconut milk, but were not happy with what we saw. In addition to a stabilizer, many had preservatives in them, and some other ingredients we didn’t understand.

Around the same time we ended up buying a whole pile of desiccated coconut on a shopping trip to the Indian wholesaler only to find when we got home that we already had quite a lot sitting at the back of the cupboard. OK, so let’s try combining the two and making our own coconut milk! Actually it is pretty simple, and using a blender it is also very fast. No more preservatives or stabilizers in this lot!

This recipe makes both thick and thin coconut milk, in the two presses of the coconut. I recommend that you press them into separate bowls and retain them separately for use in different recipes. The thick coconut milk can be used to replace cream, while the thin coconut milk can be used as a milk replacement in many dishes.

Ingredients

  • 180g desiccated (shredded) coconut
  • 1.25L hot water (5 cups)

Directions

  1. Put the desiccated coconut and half of the water (625ml / 2 1/2 cups) of hot water into a blender.
  2. Blend on high speed for 30 seconds.
  3. Pour the water and coconut mixture out over a fine sieve or a piece of muslin cloth (you could also use a fine tea cloth) with a bowl underneath.
  4. Squeeze all of the excess moisture out by squeezing the coconut in the cloth, or by pressing the coconut with the back of a spoon in the sieve.
  5. This first press of the coconut mixture will be thicker and creamier than the second press of the coconut mixture.
  6. Return the coconut to the blender and put the rest of the hot water in with it (625ml / 2 1/2 cups).
  7. Blend again on high for for 30 seconds
  8. Pour the second lot of water out over a fine sieve or piece of cloth, and a fresh bowl.
  9. This second press of the coconut mixture will be a thin coconut milk, but will normally be more than the first press of the coconut.
  10. Store the thick and thin coconut mixtures separately in airtight containers in the fridge, and use in soups, curries, or beverages.

Music to go with it…
Listen on Spotify: The Mountain Goats – Beat the Champ

Dairy Free Rice Pudding

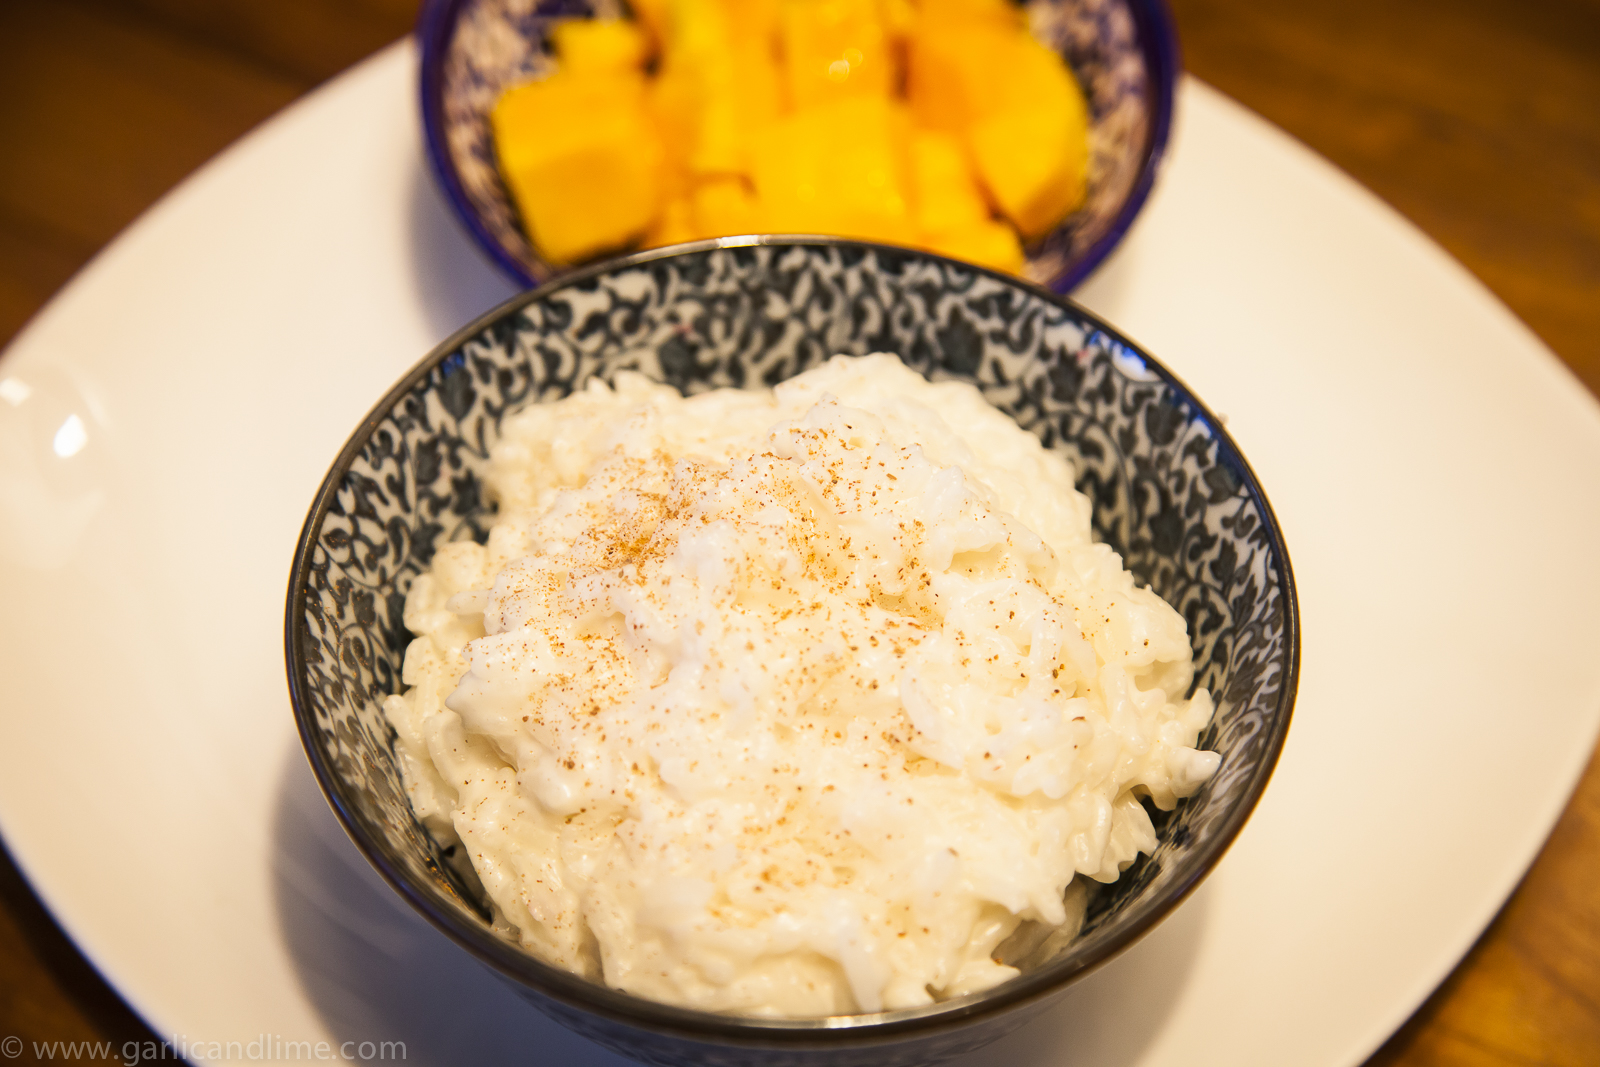
Dairy free rice pudding

It is many years since I have made a rice pudding, but it brings back memories of childhood. It is something my mother used to make when we were small. To make this one dairy free I have substituted the milk and cream for coconut milk and cream, and added cardamon to the cinnamon stick to add a fragrant flavour.

Ingredients

  • 1 cup white rice (uncooked)
  • 3 cardamon pods
  • 200ml coconut cream
  • 100ml coconut milk
  • 1 cinnamon stick
  • pinch of salt
  • 4 Tbsp honey
  • A little ground cinnamon to garnish
  • Fruit to garnish (berries or mango)

Directions

  1. Put the rice in a pot. Add the cardamon pods. Add 2 1/2 cups of water and cook for approximately 15 minutes until cooked through (you might need to cook quicker or longer depending on the exact type of rice that you are using. Short grain pudding rice is a good choice, but Basmati or other long grain rices you might have in house are also OK).
  2. Ensure that there is no water left in the rice through draining or boiling dry dependent on the type of rice.
  3. Add the coconut cream, coconut milk, salt and cinnamon stick to the pot. Turn the heat down to a very low temperature. Boil the rice gently for around 5 minutes.
  4. Add the honey. Boil for another 5 minutes stirring often to avoid the rice pudding sticking.
  5. Remove from the heat when the pudding is a thick consistency and the rice has softened.
  6. Serve in small serving bowls and garnish with a little cinnamon powder. Serve with fruit (mango, berries or spiced apple are all good choices)
  7. Serves 5-6

Variations: you could also stir a handful of frozen cranberries or sultanas through the rice pudding when you add the cinnamon stick.

Music to go with it…
Listen on Spotify: Emily Rice – Find me here

Almond Milk and Flour

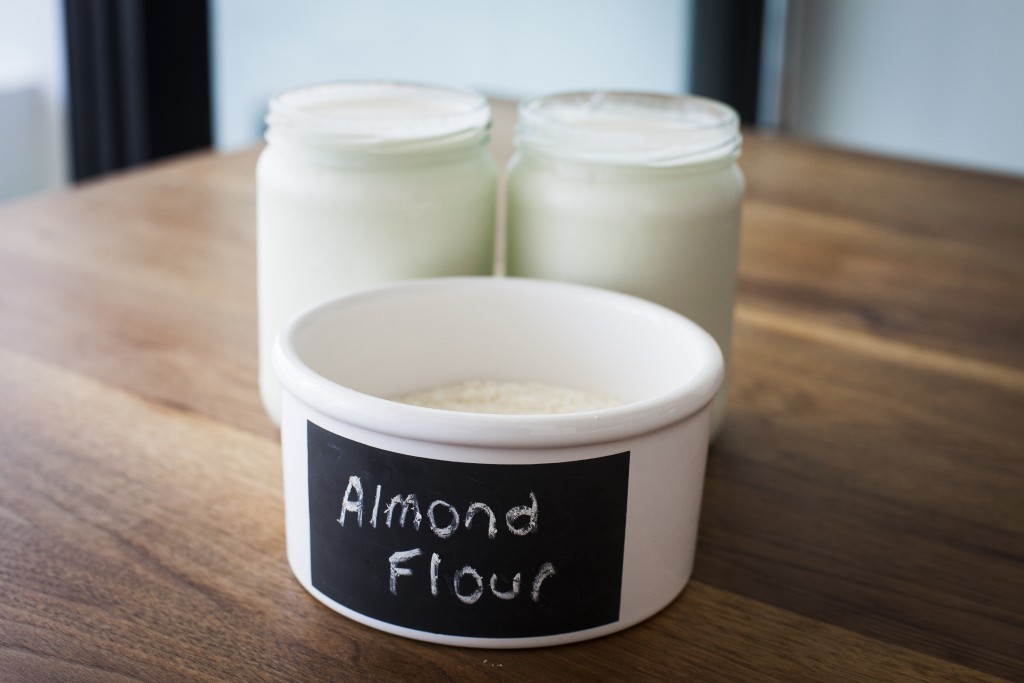
Almond Milk and Flour

Almond Milk is a great substitute for milk in cooking and baking. This is an easy way to make it at home, and also gives you almond flour as a very welcome by-product of the cooking process.

Ingredients

  • 2 cups almonds
  • 1 litre water, plus extra for soaking
  • 1/2 tsp sea salt flakes

Directions for Almond Milk

  1. Place the almonds in a large bowl and cover with enough water to sit 2cm above the almonds. Allow to stand at room temperature for 12 hours.
  2. Drain, discarding the soaking liquid and rinse well under cold running water.
  3. Put the almonds, water and sea salt into a blender and blend at a high speed for 3-4 minutes until fully mixed. (Depending on the size of your blender you might need to blend it in two batches of 500ml and 1 cup of almonds)
  4. Pour the mixture through a fine sieve to remove the almond pulp. You may need to work in batches to strain the almonds.
  5. Press the almond pulp with the back of a spoon to extract as much milk as possible. It should end up quite dry. The more moisture you leave in, the more you will have to dry out to get the Almond Flour.
  6. Retain the Almond pulp in the strainer to use in the Almond Flour (below). 
  7. Pour the milk into glass jars or bottles and seal well. Refrigerates for up to 3-4 days. Can also be frozen for up to 2 months. Makes approximately 1 litre of almond milk.

Directions for Almond Flour

  1. Preheat the oven to 100 degrees Celcius.
  2. Spread the almond pulp thinly and evenly over a lightly greased baking tray lined with baking paper.
  3. Bake for 1 hour.
  4. Toss the almond pulp, re-spread it out over the baking paper and cook for another 1 hour.
  5. Allow to cool completely.
  6. Place the almond mixture into a food processor and process using the knife blade until finely ground.
  7. Store the almond flour in a air tight container in the refridgerator for up to 1 week, or use immediately to make Dried fig and Cranberry Almond Loaf.

Music to go with it…
Listen on Spotify: Eternal Summers – The Drop Beneath