All posts by Genevieve

Safe Travel for Women in India

Ambassador car on Raisina Hill, New Delhi, India (January 2013)
We lived for 2 years in India. To begin with I felt very safe. I didn’t mind traveling alone for work, I went up to the local mall in the evening, and I caught a taxi by myself on arrival in another city. But I got a lot of reactions from locals when I did that. My boss wanted me to SMS him on arrival at the airport and hotel when I traveled. Another colleague insisted on driving me to the airport himself. Women recounted their stories of “eve teasing” (sexual harassment) on buses throughout their teenage years, but still I felt safe.
I was under the illusion that because people were friendly and hospitable, because there was normally other people around, that I was safe. And try as they might, my colleagues couldn’t really convince me otherwise.
The first year went off incident free (well apart from that guy who liked staring at me rather than the road in Chennai, and the bunch of guys at the local mall who wouldn’t leave me alone, and the rickshaw drivers who looked like they were going to eat me with their eyes…)
But, ever since Nirbhaya (Jyoti Singh) was raped in a moving bus and dumped from it in Delhi (not far from our house) India has gotten its fair share of bad press for the safety of women. I have to admit, that Nirbhaya also altered my feeling of safety, and the way I conducted myself. Up until then I felt very safe, and was even a bit lax on my personal safety. After Nirbhaya I was very vigilant. After Nirbhaya I started listening to some of the advice I was given.
The succession of tourists who were raped while traveling, not just in Delhi but also in other parts of the country did not help. As a result the safety of women in particular has become a cause of concern for many people when considering a trip to India.
But it doesn’t need to be. Like traveling in any big city, it pays to take some precautions. Here are some tips, including ones we were given by locals, for traveling safely in India as a woman.
Taxi driving through Vasant Vihar, New Delhi, India (February 20
Get a local SIM card
Pre-paid local SIM cards are readily available at major airports. This not only means that you can more cost effectively call people in India, but you have an Indian number with which to book taxis. You can’t book with local cab companies without an Indian phone number, and this leaves you with less reputable cab companies and flagging down cars and rickshaws. If you get the attention I did in a cab, you can also pull out your phone and pretend to call someone waiting for you.
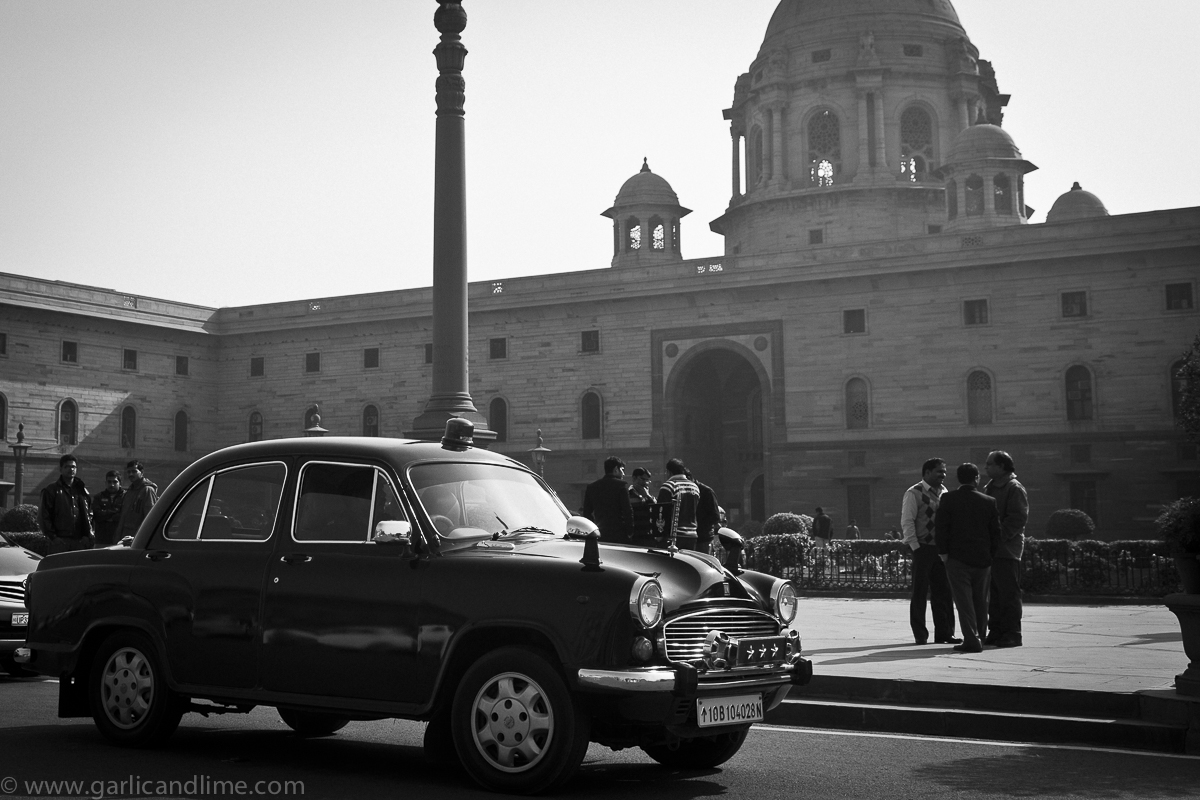
Take a reputable cab company
In major cities, Easy Cabs (+91-11-43434343) and Meru Cabs (+91-11-44224422) are a good choice, although the drivers will rarely speak very good English. You will need to get someone at your hotel (the doorman can normally do this for you) to tell them where you need to go, and give them directions on how to get there. Do expect that they will turn up a bit late (getting stuck in Delhi, Mumbai or Chennai traffic is a fact of life) so make sure you order them for half an hour earlier than you actually need them.
Or take a daily car rental
For daily car rentals, Swift has reliable drivers, and you can ask them for a driver who speaks English. (+91-11-48055555). Swift is not only available  in 17 cities of India. I used them in Delhi and Chennai, but I can’t guarantee English speaking drivers in all the other cities.
While the English of the drivers won’t be perfect, it was always good enough to be able to explain to them (in simple language) where we wanted to go, and when they should be back to pick us up. If you do take this option, then make sure you have a local SIM card, and take the number of the driver. They will go away while you have your lunch, and you will need to be able to call them to come back and get you.
An "auto" in Vasant Vihar, New Delhi, India (February 2012)
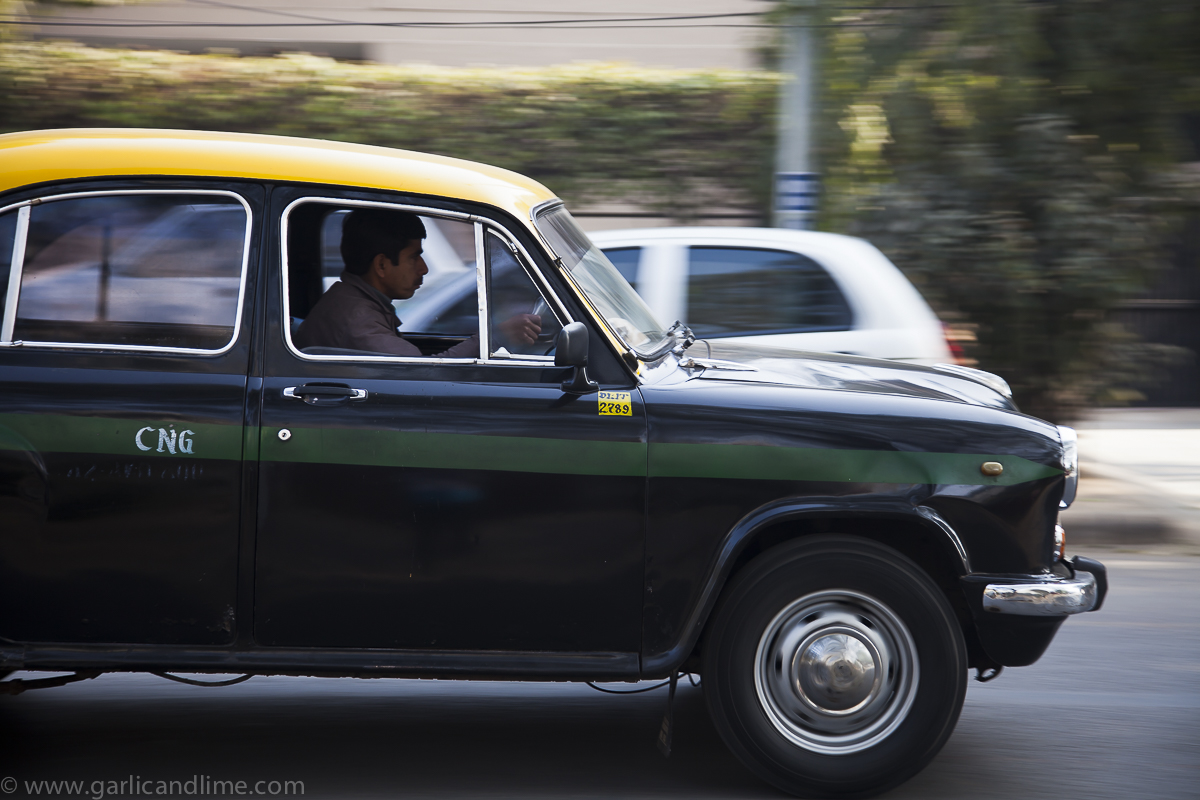
Take a photo of the number plate 
This is something I had never considered before moving to India, but it was advice that many people were very insistent on. In fact my boss insisted that I SMS him the number plate each time I was collected from the airport when I traveled. Taking the photograph means that he is aware that you are vigilant, and probably also that you know someone else to send it to. There is even an app for Indian Women’s safety that collects this up and tracks them. You are unlikely to use this as a tourist, but they will think you are using it.
Listen to your instincts, but don’t go overboard
If you feel uncomfortable in the car, then pull out your cellphone and make a call – even if it is only to the hotel you are traveling to – so that it appears that you know people and are being looked after. I was once in a car in Chennai and the driver had his rear view mirror trained on me. He spent more time looking at me than at the road. I started giving him instructions on how to drive, and called one of the guys where I was going to inform him that we were not far away so that the driver knew I was being expected. It was enough to get his eyes back on the road.
Driving down Raisina Hill, New Delhi, India (January 2013)
Don’t take a cab on your own at night
Unless you hire a multi-day driver from Swift and are confident in your driver, it is best to avoid traveling at night on your own. Get someone to drop you off at your hotel, accompany you to your hotel before traveling on to their own, or take dinner in your hotel. I created a lot of concern by driving myself in India, but I preferred to drive myself or use my own driver at night rather than take a cab. (I don’t recommend you drive yourself on a visit, the traffic is a real experience…)
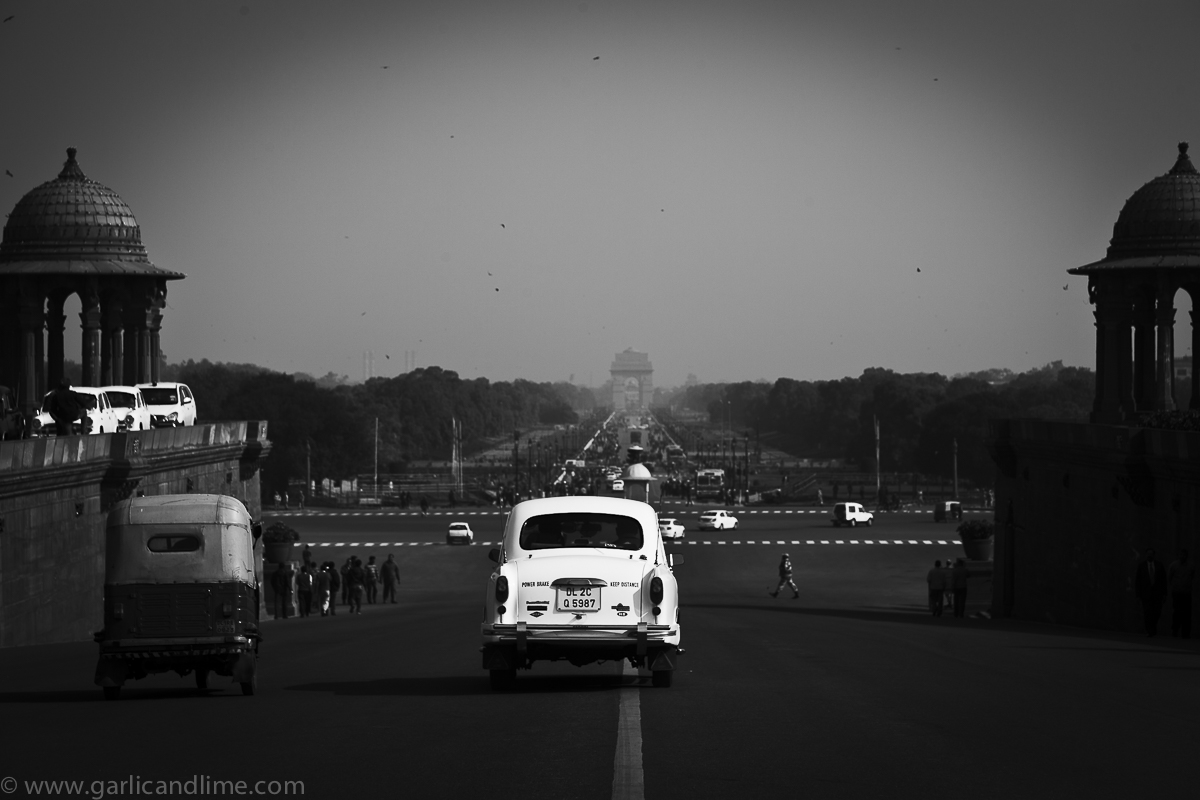
If you are traveling from city to city, book a car to collect you
The craziest part of travel in India is often the rugby scrum for a rickshaw or taxi as you step out of the train station or the airport. You can save a lot of hassle by booking a car in advance to collect you – they will hold up a name board – and having a destination hotel for your city of arrival. This saves you getting caught by touts (who earn a commission on the hotel they take you to) and ending up with a driver you don’t feel comfortable with. Often the hotel will send a driver for you (for a fee) if you ask them to.
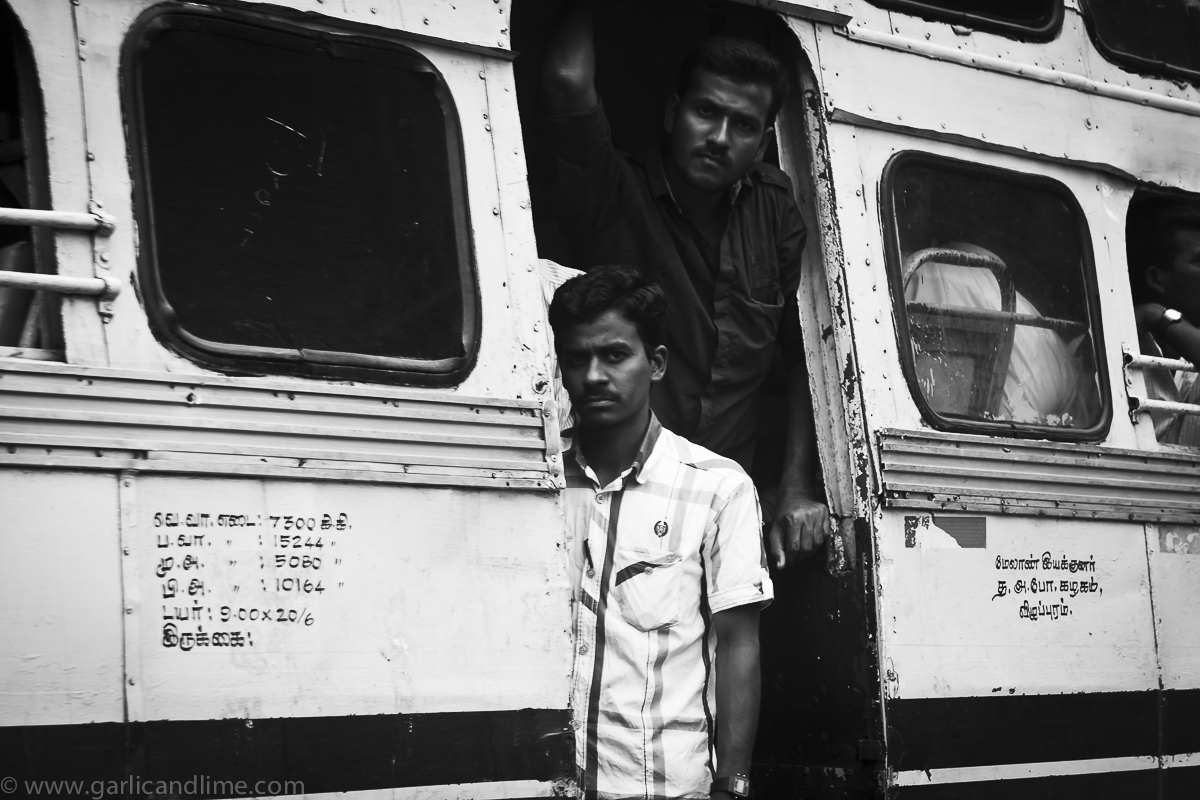
Take the ladies section
The Delhi Metro is rightly the pride of Delhi, but “eve teasing” (sexual harassment) as it is known in India is a little too prevalent. Avoid this by taking the ladies only carriage. Avoid the buses. The safety record of the green buses is appalling (they run over too many pedestrians) and you are unlikely to be helped if “eve teasing” starts on the buses. In Delhi, stick to the metro and taxis. In other cities, stick to taxis. They are anyway very cheap.
Take a sense of humour with you
Travel in India is an adventure, in so many senses of the word. So many things are not as you expect, and approaching it with a healthy sense of humour will get you through so many situations. Don’t mention that you are just visiting, fake being an expat, say “challo” if you want someone to go away, and enjoy the ride of wonderful, crazy, magical India!
I loved living there. I love visiting there still. I became more cautious about traveling on my own as a result of living in India and Jyoti Singh, but I wouldn’t avoid going out of concern. A lot of people will genuinely offer you help and hospitality too. India is a wonderful place with wonderfully warm people. Enjoy!
Two men on a bus, Nataraj temple, Chidambaram, Tamil Nadu, India

Apricot, Almond, Date Snack Bars

Apricot, Almond and Date snack bars

Snack bars are great for filling a little gap between meals, or when you know that lunch is going to end up being a little late. However, Healthy Snack Bars are generally quite expensive, so we have been experimenting with different recipes to make our own. This is a classic combination inspired by the fruits of Kashmir – Almonds and Apricots. The dates give a natural sweetness, so no honey or sugar needs to be added to the mix.

Ingredients

  • 1 cup almonds
  • 1 cup dried apricots
  • 1 cup dried dates
  • Little coconut or olive oil

Directions

  1. Place the almonds into a food processor using the metal knife blade. Chop the almonds until they are in small pieces
  2. Add the dates and apricots to the food processor. Mix until the mixture starts to form into a ball
  3. Grease a metal tray with a little coconut or olive oil
  4. Spread the mixture out onto the tray and press down with your hands to form a square or rectangle of an even thickness
  5. Place into the fridge for about an hour
  6. Cut into bars, and store in an air tight container in the fridge. We wrap the bars in baking paper to avoid using plastic wrap.

Music to go with it…
Listen on Spotify: The Kite Strings Tangle – Vessel

Black and White Sesame Seed Salmon

Salmon with black and white sesame seeds

This is a very easy, but visually interesting meal. You could pair it with a baby spinach or rocket salad, with fennel and grapefruit (to use up the grapefruit in the recipe) and Sweet Potato Fries with Garlic Aioli out of the Air Fryer.

Ingredients

  • 1 Tbsp black sesame seeds
  • 1 Tbsp white sesame seeds
  • 1 Tbsp grapefruit juice
  • 1 tsp honey
  • pinch of sea salt
  • freshly ground black pepper
  • 2 salmon fillets
  • Coconut oil

Directions

  1. Season the salmon fillets with sea salt and freshly ground pepper
  2. Mix the black and white sesame seeds, grapefruit juice and honey together in a small bowl
  3. Spoon the sesame seed mix onto the top of the salmon fillets (skin side down, do not put the sesame seeds on top of the skin). Spread the sesame seeds out to form a crust on top of the salmon fillets
  4. Fry in a little coconut oil over a moderate to low heat until the salmon fillets are cooked half way through – skin side down first. Turn over and cook until cooked through. About 2 minutes on each side.

Music to go with it…
Listen on Spotify: Marisa Nadler – July

Healthy Veggie Omelette

Healthy Veggie OmeletteI normally think of an Omelette as something for  breakfast, but with the addition of more vegetables it can also be a great light meal or lunch. While this variation uses zucchini and spinach, you can pretty much use any vegetables you like to use up what you have left over in your fridge.

Ingredients

  • 4 eggs, beaten
  • 100ml coconut milk
  • 1 red onion, finely chopped
  • 1 garlic clove, finely chopped
  • handful of mushrooms, chopped
  • handful of cherry tomatoes, chopped
  • 1 carrot, finely chopped
  • sea salt
  • freshly ground black pepper
  • 1/2 Tbsp dried Italian herbs (thyme, oregano, mix)
  • 1/2 tsp dried oregano
  • large pinch of ground paprika
  • 150gr baby spinach
  • handful of cashew nuts, roasted and chopped
  • large pinch of dried chilli flakes
  • coconut oil to cook
  • Pan that can be placed in the oven (no plastic handle)

Directions

  1. Heat the oven to 180 degrees Celsius (350 degrees Fahrenheit)
  2. Beat the eggs and coconut milk together in a bowl and set aside.
  3. Add all of the chopped vegetables (mushrooms, tomatoes and carrot) to the pan, and fry on a medium heat for a couple of minutes until softened.
  4. Add salt and pepper, Italian herbs, oregano and paprika and stir well.
  5. Add the spinach and toss until slightly wilted.
  6. Sprinkle over the cashew nuts
  7. Add the egg mixture and sprinkle the chilli powder over the top. Fry until it starts to set.
  8. Transfer the pan to the oven and bake for 5-10 minutes until the egg is set through. You can check by inserting a fork into the Omelette, it should come out clean when it is cooked through.
  9. Serve with a simple lettuce salad.

Music to go with it…
Listen on Spotify: Hozier – Take me to Church

Korean Carrot Salad

Korean carrot salad

Living in Asia gives us the opportunity to explore its many flavours. The Korean kitchen is one we have been exploring more of recently. This is a very fresh tasting salad using all raw ingredients. It is easy to make, and fits into a vegan, vegetarian, or paleo lifestyle.

Ingredients

  • 1 large carrot, sliced into thin sticks
  • 1 red onion, thinly sliced
  • 2-3 spring onions, chopped
  • 2 garlic cloves, minced and chopped
  • handful of fresh coriander, chopped
  • 2 Tbsp coconut aminos (or soy sauce)
  • 2 tsp sesame seeds
  • 1 tsp hot sesame oil (or 1 tsp sesame oil and 1 tsp chili flakes)
  • pinch of salt

Directions

  1. Place the carrot, onion, spring onions, garlic and coriander into a bowl.
  2. Mix together the coconut aminos, sesame seeds and sesame oil in a small bowl to create the dressing.
  3. Stir the dressing through the salad.

Music to go with it…
Listen on Spotify: Mahoney Harris – We Didn’t Feel Alone

Coconut Yoghurt

Coconut Yoghurt with Mango and Honey

Since going dairy free I haven’t had any yoghurt, or yoghurt substitutes. I wanted to change my breakfast habit (muesli and yoghurt) before trying any. Recently a friend gave me some culture grains that she uses to make her daily drink of kefir. I decided to use it to make a coconut yoghurt. After some experimentation, I found that you can vary the creaminess of the yoghurt by using coconut milk, coconut cream, or a mix of the two. This is a 50/50 mix, but you can make it more Greek Yoghurt like by adding more coconut cream

Ingredients

  • 200ml coconut milk
  • 200ml coconut cream
  • milk kefir grains (available on Amazon.com)
  • 1 mango
  • 1 tsp honey

Directions

  • Place the coconut milk and coconut cream in a jar. Stir to combine
  • Add the milk kefir grains to the coconut milk
  • Let the coconut milk mixture stand for 12-24 hours for the culture to do its magic
  • Strain the yoghurt through a mesh (I use a sifter) to sift out the kefir grains. Add the grains to a new batch of coconut milk.
  • Place the coconut yoghurt in a bowl in the fridge for 1 hour to cool down. It will also thicken in the fridge.
  • Serve the yoghurt topped with mango and a teaspoon of honey, or use it in a curry (such as a Palak Chicken Curry) to make the dish more creamy

Music to go with it…
Listen on Spotify: Oscar and the Wolf – Entity

Vegan Chocolate Biscotti

Chocolate, pistachio, cardamon biscotti

Biscotti are twice cooked Italian biscuits. You cook them first as a log, and they come out of the oven a soft cookie texture. After cutting them into slices you cook them a second time. This time they end up dry and crunchy, and perfect for dunking into a coffee or hot chocolate.

This version of the recipe uses almond and coconut flour to make them gluten free, maple syrup to avoid refined sugars, and no eggs to make them Vegan and Vegetarian. Despite being a significant variation on the traditional recipe they are a delicious, crunchy Biscotti that are no shame to the original recipe. The almond flour gives them a lovely richness that makes them feel more sinful than they are!

Unfortunately our son has just sneaked half the batch while we were out so we have to make a second batch already…

Ingredients

  • 100g blanched almonds (or 1 cup almond flour)
  • 1/4 cup coconut flour
  • 1/4 cup unsweetened cocoa powder
  • 1 tsp cardamon powder
  • 1/2 teaspoon baking soda
  • 1/4 tsp sea salt
  • 1/4 cup maple syrup
  • 1/2 cup pistachio nuts
  • 1/4 cup dark chocolate, chopped into small chunks

Directions

  1. Pre-warm the oven to 180 degrees Celsius (350 degree Fahrenheit)
  2. Blend the almonds in a food processor with a metal blade (preferably the mini food processor attachment or a chopper accessory on a blender) until they are a fine powder (alternatively use almond flour
  3. Add the ground almonds, coconut flour, cocoa powder, cardamon powder, baking soda, and sea salt to a food processor. Process to combine all of the ingredients
  4. Add the maple syrup and process to combine all of the ingredients. (Note: If you prefer sweet biscuits you might like to increase the amount of maple syrup to 1/2 a cup. This is not a particularly sweet biscuit recipe.)
  5. The mixture should start to form into a ball. Let it rest for 5 minutes for the coconut flour to absorb the maple syrup.
  6. Remove the mixture and place it on a piece of greaseproof paper. Knead in the pistachio nuts and chocolate to mix it through the mixture evenly
  7. Place a sheet of greaseproof paper on a baking tray and place the mixture in the middle of the tray. Shape the mixture to form a block about 20cm long, 10 cm wide, and 2 cm thick.
  8. Cook the biscotti in the oven for 15 minutes.
  9. Remove from the oven and allow to cool (approximately 1 hour)
  10. Slice the log into 1cm wide biscuits using a bread knife. It is important that they are even in width as you are going to cook them again.
  11. Spread the slices of biscuit evenly on a baking tray lined with greaseproof baking paper
  12. Cook again for 15 minutes until the biscotti are crisp and crunchy but not hard
  13. Allow to cool and serve alongside coffee or hot chocolate

Music to go with it…
Listen on Spotify: Carbon Handshake – A Dive Right

Escape Juice

Banana watermelon juice

Our little Juicemaster son has been busy experimenting with his juicer and blender again and has created this very simple, but refreshing juice. Packed full of vitamins it could also all be made in the blender if you don’t have a juicer, but it would then be thicker as all the fiber of the watermelon would still be included. This Lego criminal thinks it has all the right ingredients to aid his escape.

Ingredients

  • 3 bananas
  • 1/4  watermelon
  • handful of ice
  • Juicer machine
  • Blender

Directions

  • Remove the rind from the watermelon. Juice in a centrifugal or slow juicer on the slowest speed to extract as much juice as possible.
  • Pour the watermelon juice into the blender. Add the banana and a handful of ice. Blend for 30 seconds until well combined
  • Serve over ice for a refreshing juice

Music to go with it…
Listen on Spotify: Graveyard Club – Nightingale

Rucola, Spinach, Asparagus Salad

Rucola, spinach, asparagus salad

The focus of our food philosophy is on prioritizing vegetables and fruit over other food groups, and making sure that we are feeding our bodies nutrient rich food. Living in the eternal heat that is Singapore has resulted in us eating a lot of salads, and having a salad for lunch is a great kick starter for the amount of vegetables that we are eating in a day.

This salad has become one of our favourites. Using both rucola and baby spinach leaves adds some interest to the lettuce base, while the beans or asparagus add a little more substance to the meal. The sesame seeds finish it off attractively, while also adding essential nutrients. You could also consider adding pumpkin seeds, sunflower seeds or pine nuts to the garnish, especially if you remove the parma ham to make it a vegetarian or vegan salad.

Ingredients

  • 150g rucola leaves
  • 150g baby spinach leaves
  • 1 red onion, thinly sliced
  • a few slices of parma ham (Prosciutto) (optional)
  • 75g green beans or small asparagus
  • coarse sea salt
  • freshly ground black pepper
  • 2 Tbsp olive oil
  • 1 Tbsp red wine vinegar
  • 1 tsp black sesame seeds
  • 1 tsp white sesame seeds

Directions

  1. Heat the oven to 200 degrees Celsius (400 degrees Fahrenheit)
  2. Lay the parma ham out on a sheet of baking paper on a baking tray. Cook in the oven for 8-10 minutes or until crispy
  3. Cook the beans or asparagus in a pot of boiling water that is lightly salted for 2-5 minutes until only just cooked. Remove from the pot and quickly wash under running water to cool them down and prevent further cooking.
  4. Wash the rucola and spinach leaves and place them in a salad bowl
  5. Spread the onion and beans or asparagus over the rucola and spinach
  6. Combine the sea salt, black pepper, olive oil and vinegar in a glass and stir well to combine. Pour the vinaigrette over the salad, and toss the leaves to coat them all.
  7. Stir the black and white sesame seeds together in a small glass or bowl to mix them up
  8. Spread the crispy parma ham over the salad, and top with a sprinkling of the sesame seeds to garnish.

Music to go with it…
Listen on Spotify: Roadkill Ghost Choir – In Tongues

Caramelized Onions and Mushrooms

Chicken Burgers, avocado and tahini spread, red onion and mushroom in vinegar

This side dish of caramelised onions and mushrooms is great as a topping to vegetarian or other burgers, on top of a steak, or as a side dish to eat on its own with a vegetarian or vegan meal. While this time we made it to top Chicken Burgers, we often eat it next to a pile of sweet potato chips from the Air Fryer with a salad. 

Ingredients

  • 1 large onion, sliced
  • 2 garlic cloves, chopped
  • 6 mini portobello mushrooms, sliced
  • 1 Tbsp good quality red wine vinegar
  • 1/2 tsp dried Italian herbs
  • pinch of sea salt
  • a few grinds of freshly ground black pepper

Directions

  1. Add some coconut oil to a pan
  2. Fry the onions for a couple of minutes until they have softened
  3. Add garlic, herbs, salt and pepper. Fry for 1 minute more until the garlic has also softened
  4. Add vinegar and fry for 1 more minute
  5. Add the mushrooms and fry for 2-3 minutes more until the mushrooms have softened and are cooked to your liking
  6. Use on top of vegetarian or chicken burgers, as a whole food topping for a steak, or as a side dish on its own with a vegetarian or vegan meal

Music to go with it…
Listen on Spotify: Zero 7 – EP3